Test APIs with Front-end
After testing that the APIs work properly with Postman, we will test the APIs that are called with the front-end built from part 2.
Configure Front-end
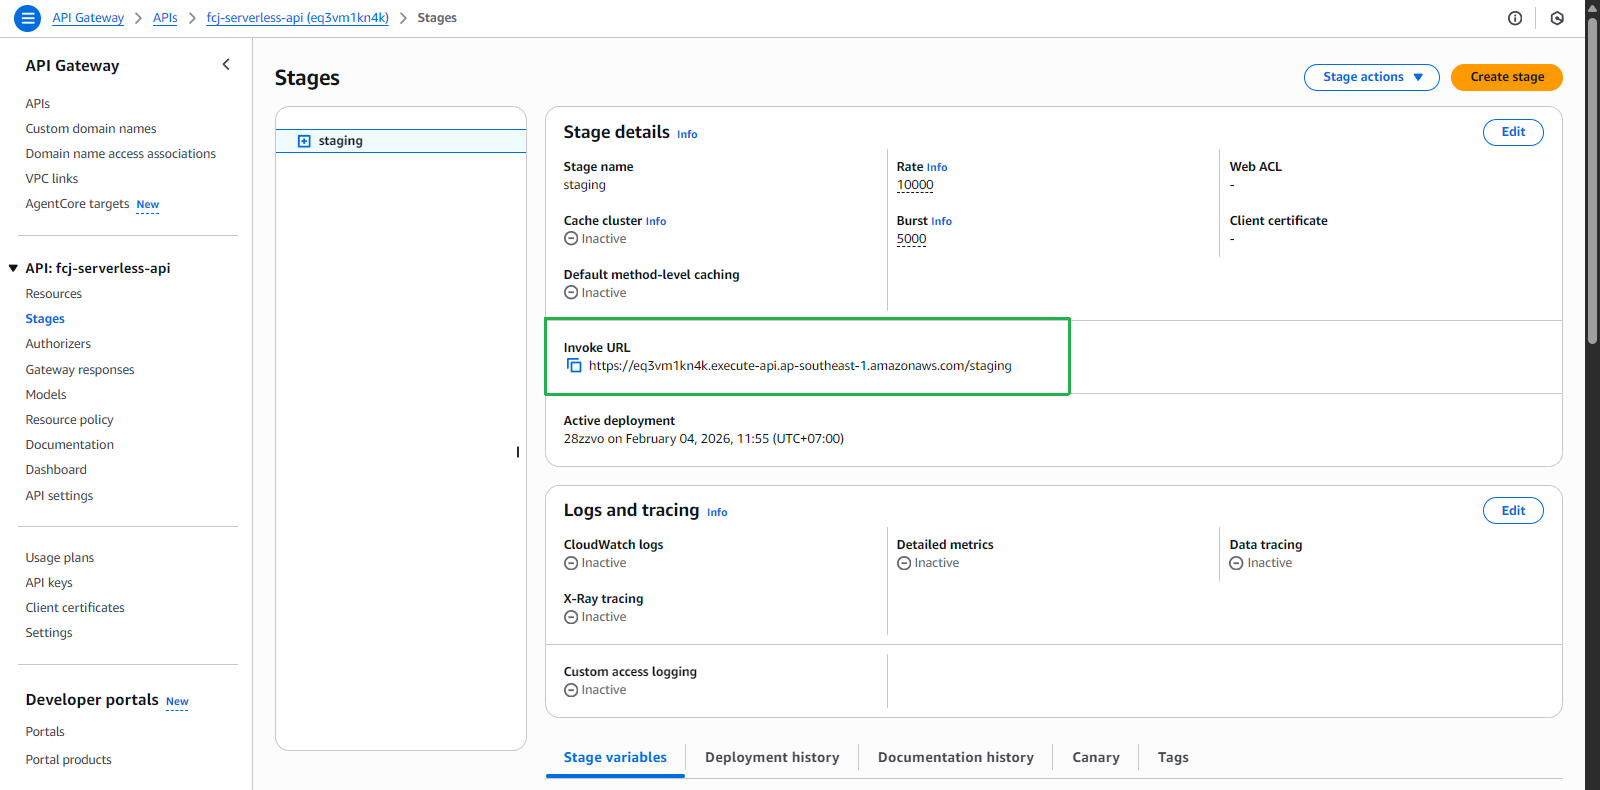
Open API Gateway console and go to Stages, copy the Invoke URL
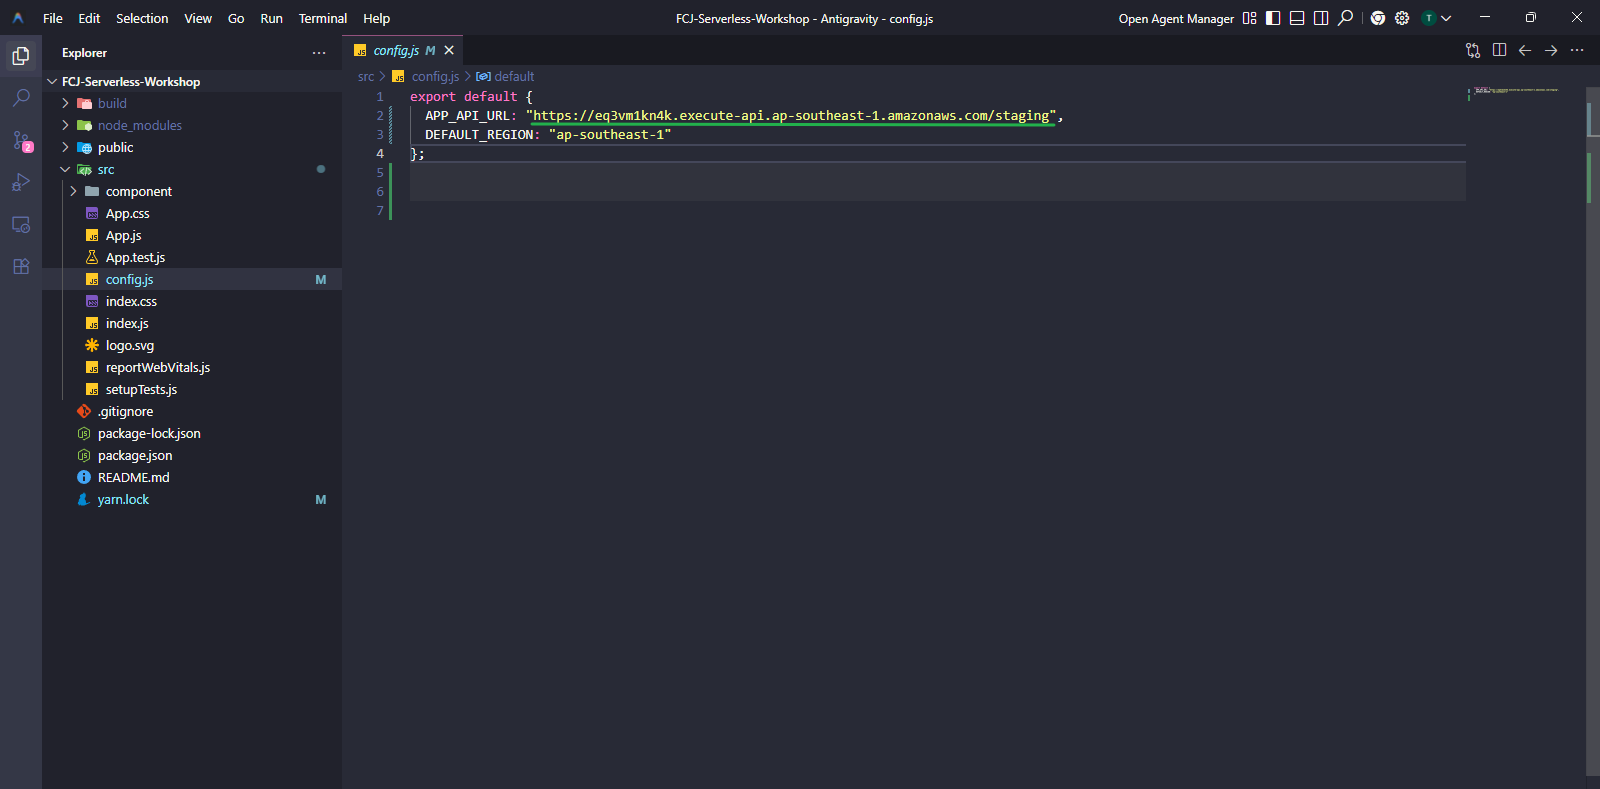
Open config.js file in fcj-serverless-frontend folder
- Replace the value of APP_API_URL with your Invoke URL
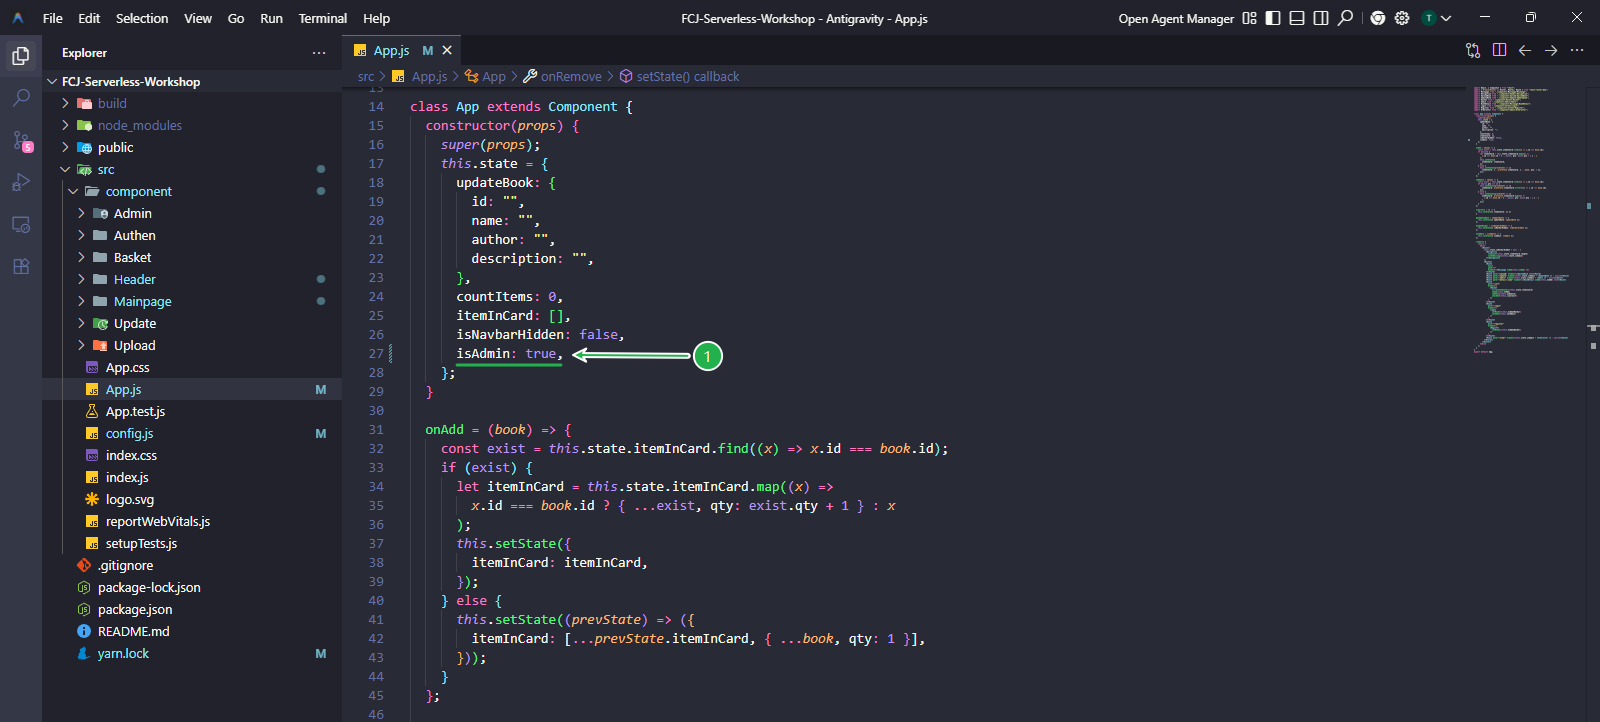
Open App.js file in fcj-serverless-frontend/src/
- Change value of isAdmin to true
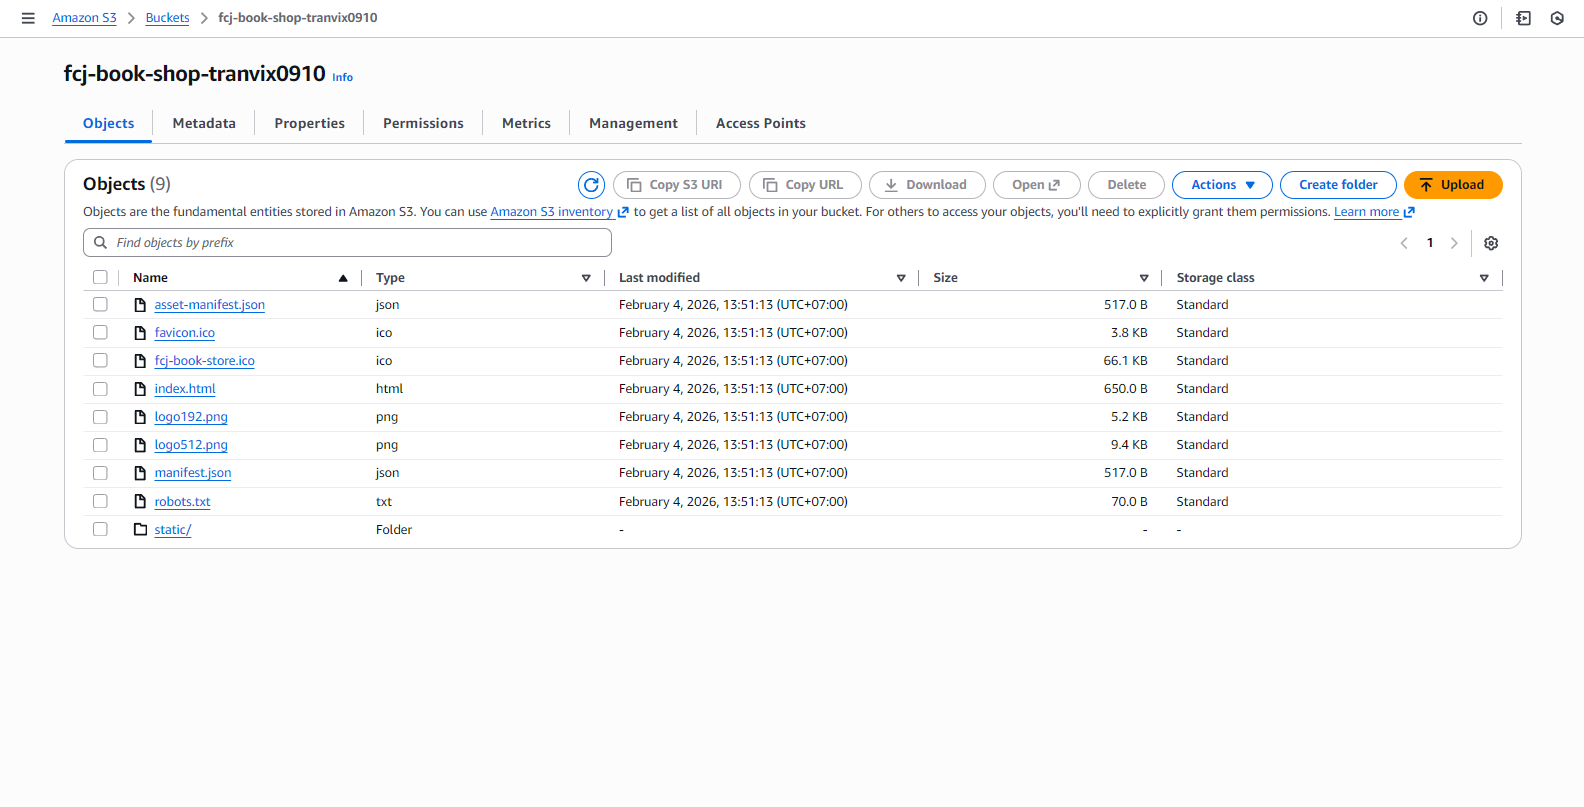
Run the following commands to build and deploy to S3:
npm run build
aws s3 cp build s3://fcj-book-shop-tranvix --recursive
Check S3 bucket, the build files have been uploaded
Paste the S3 static web endpoint into your browser. The app already shows the book information, but still no pictures because we haven’t uploaded the pictures yet
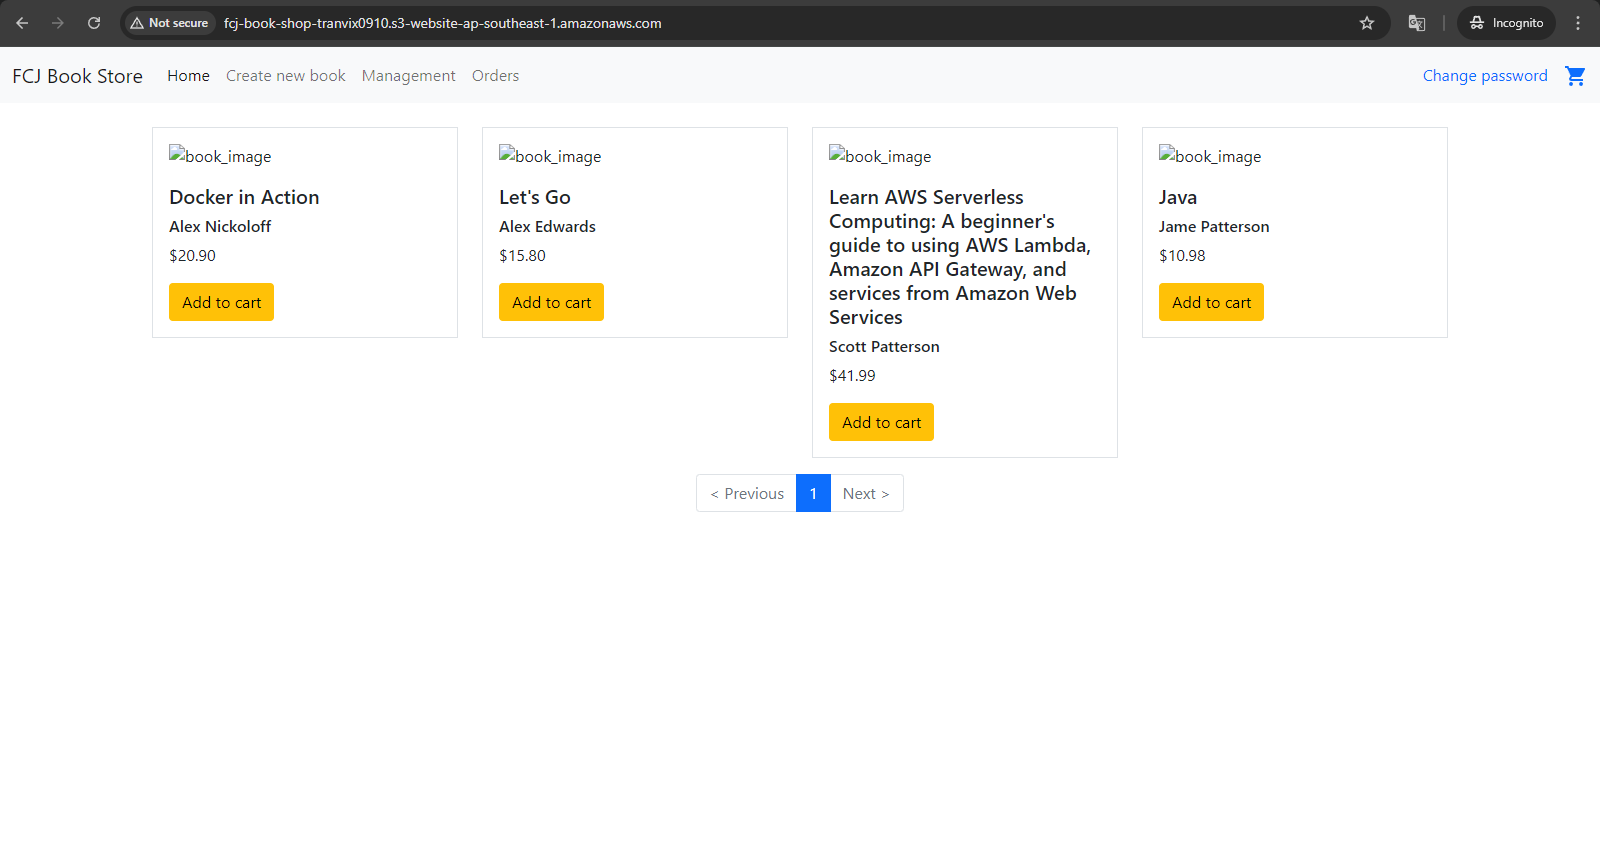
So the listing API is working properly.
Test Write API (POST/Update)
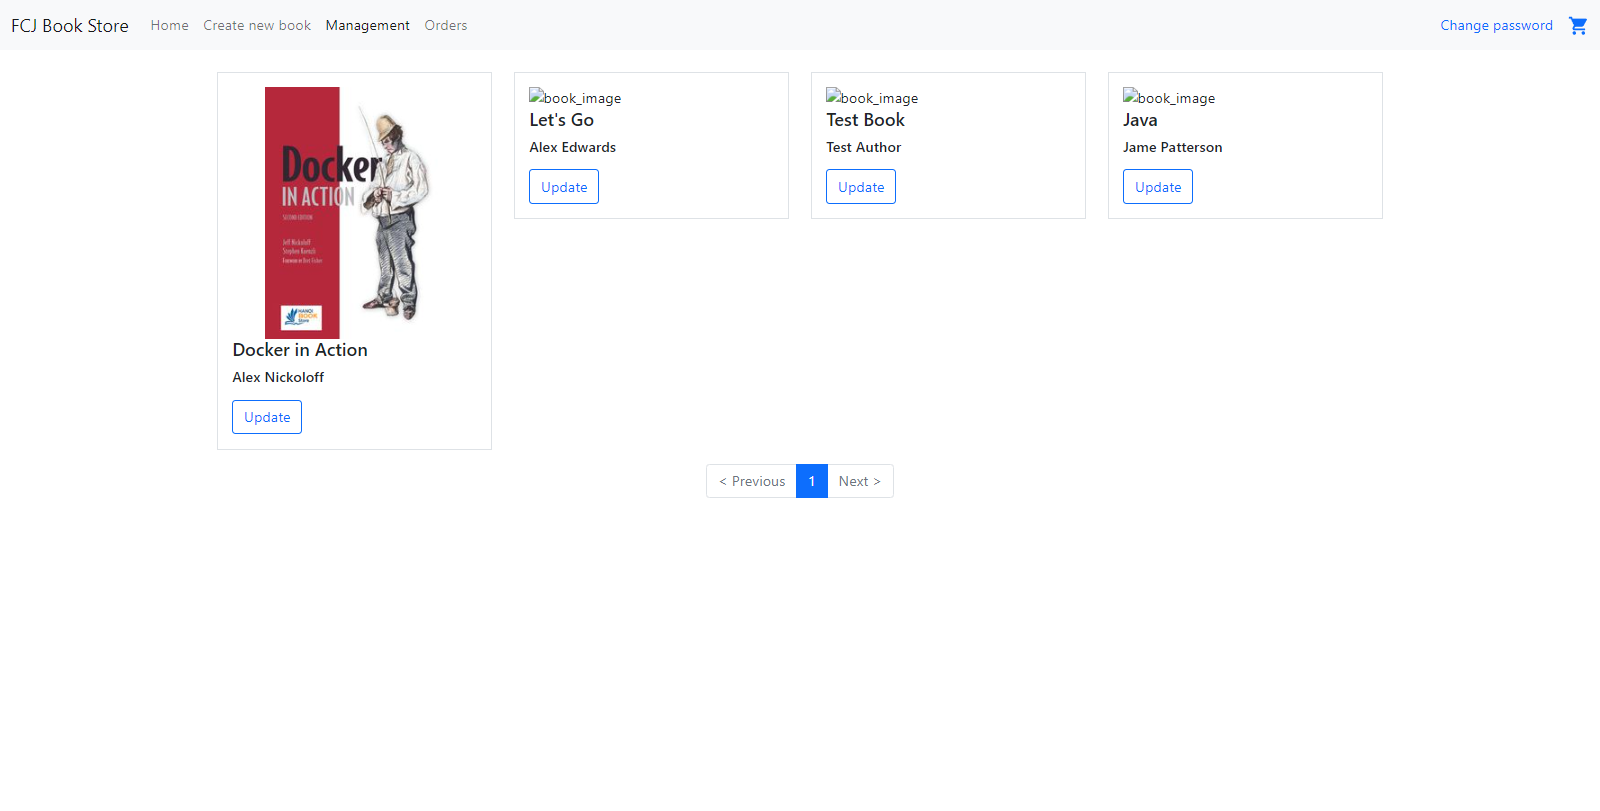
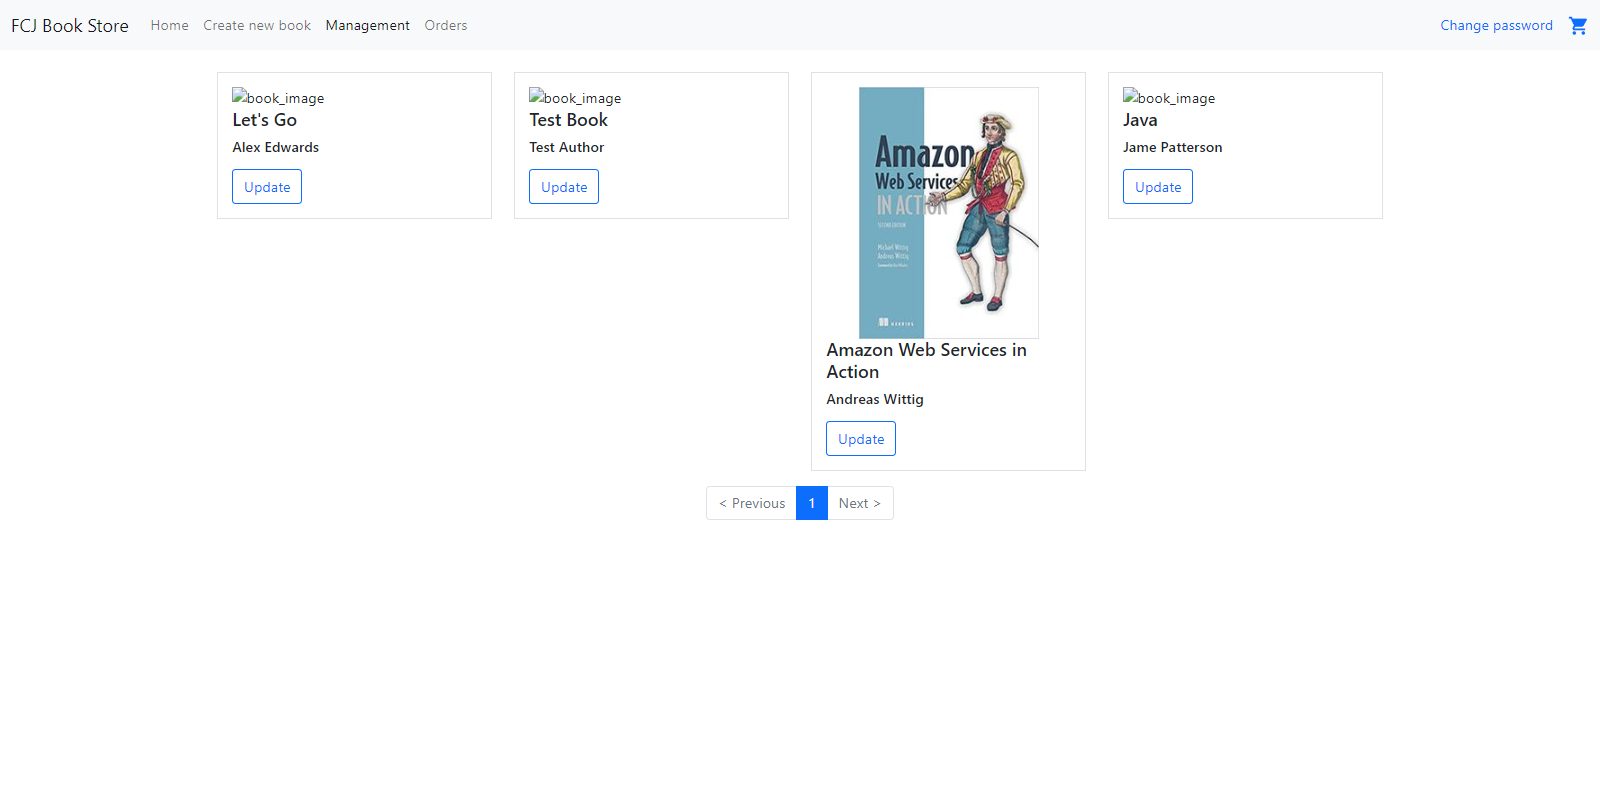
Click on Management tab and click Update button on a book
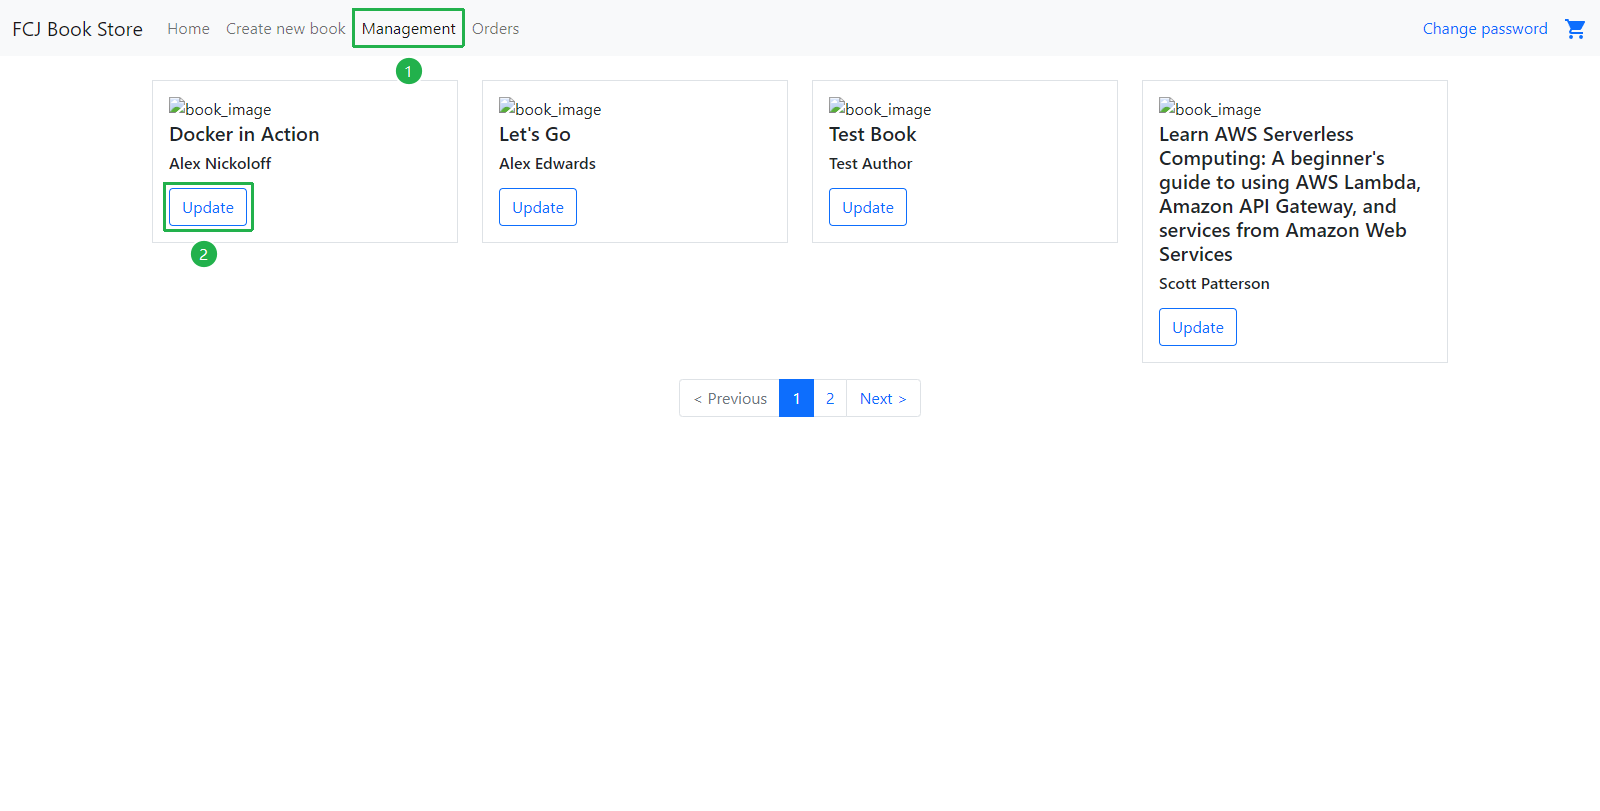
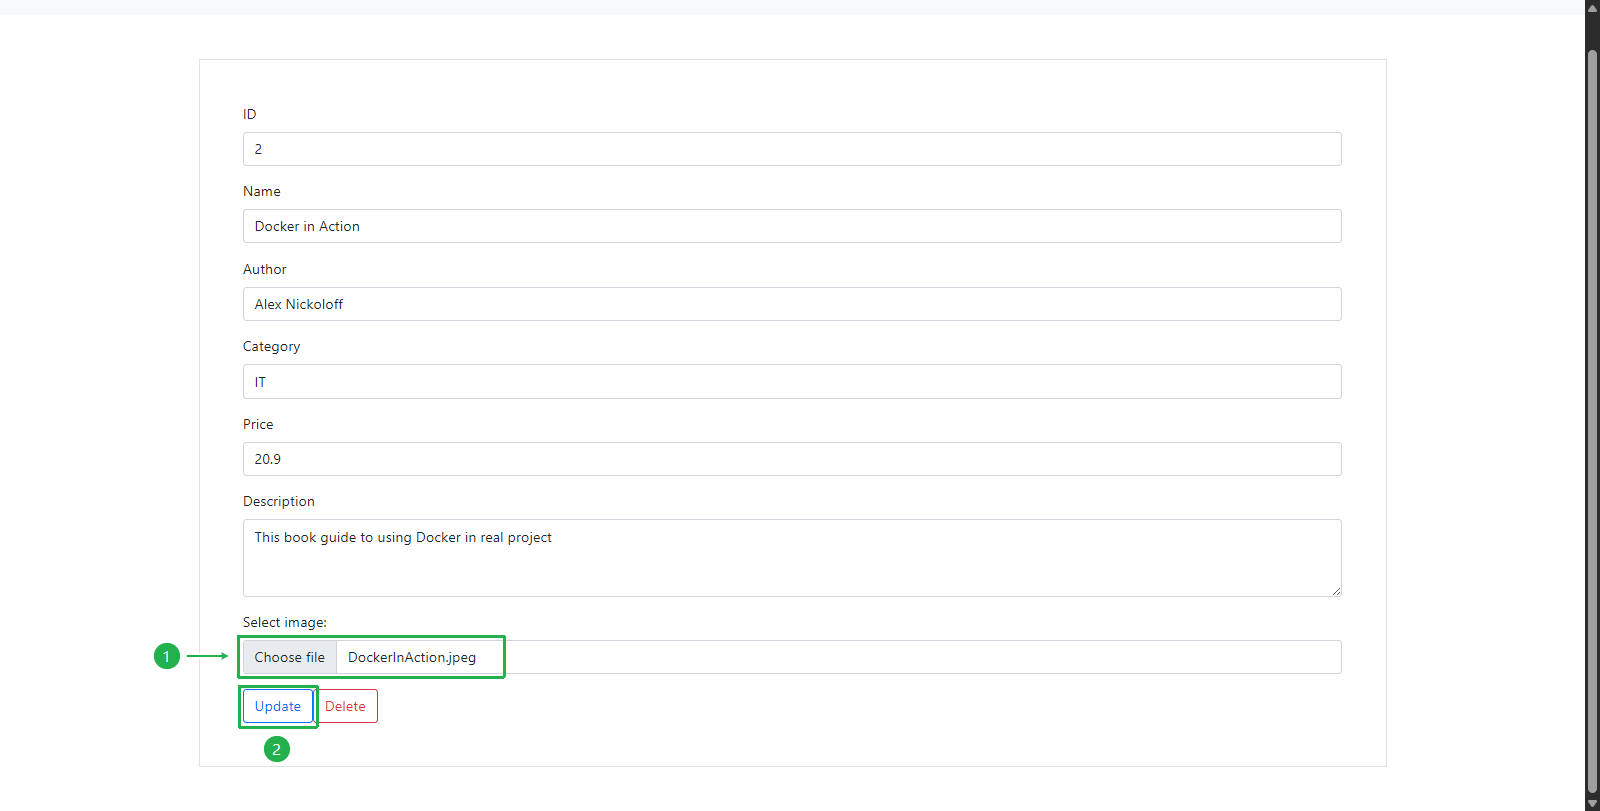
In the Update form:
- Edit whatever you want except id
- Click Choose file to select an image
- Click Update
Display message Book update successful!
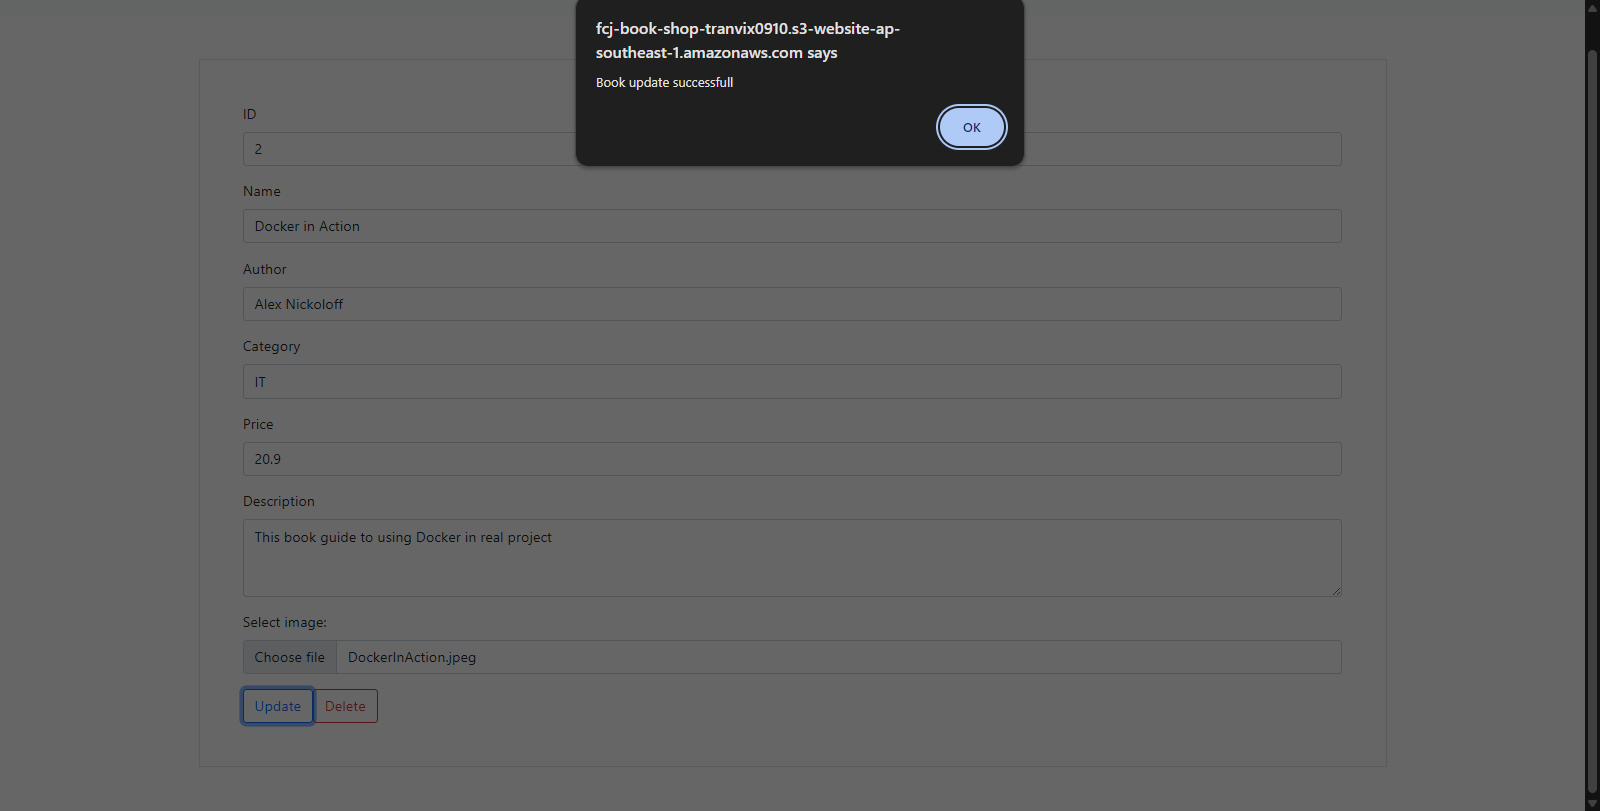
Image and information updated successfully
Create New Book
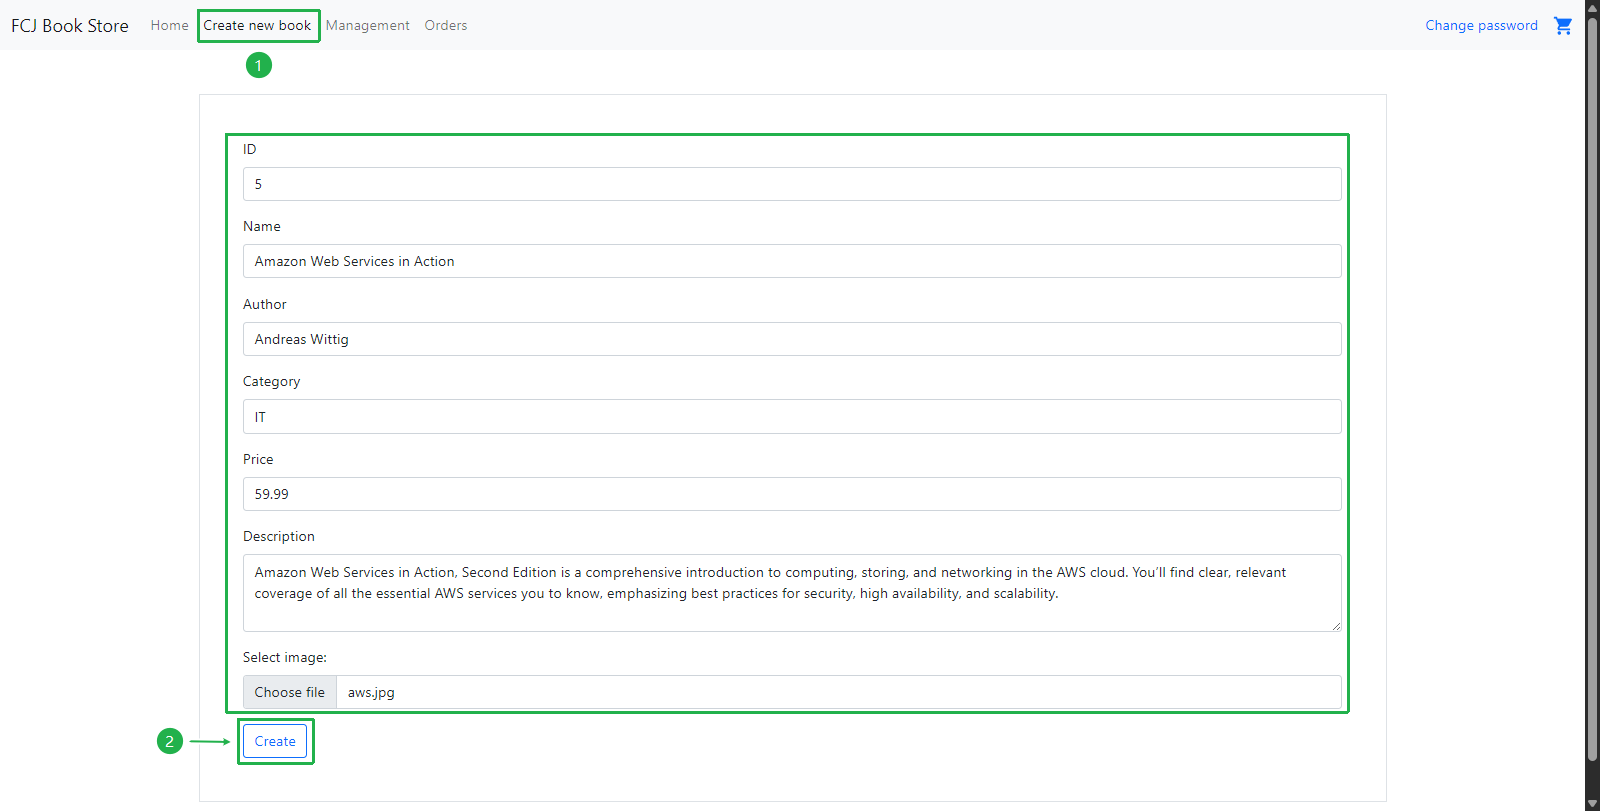
Click on Create new book tab to write new data to the database:
- Enter id: 5
- Enter name: Amazon Web Services in Action
- Enter author: Andreas Wittig
- Enter category: IT
- Enter price: 59.99
- Enter description: Amazon Web Services in Action, Second Edition is a comprehensive introduction to computing, storing, and networking in the AWS cloud. You’ll find clear, relevant coverage of all the essential AWS services you to know, emphasizing best practices for security, high availability and scalability.
- Click Choose File to upload image
- Click Create
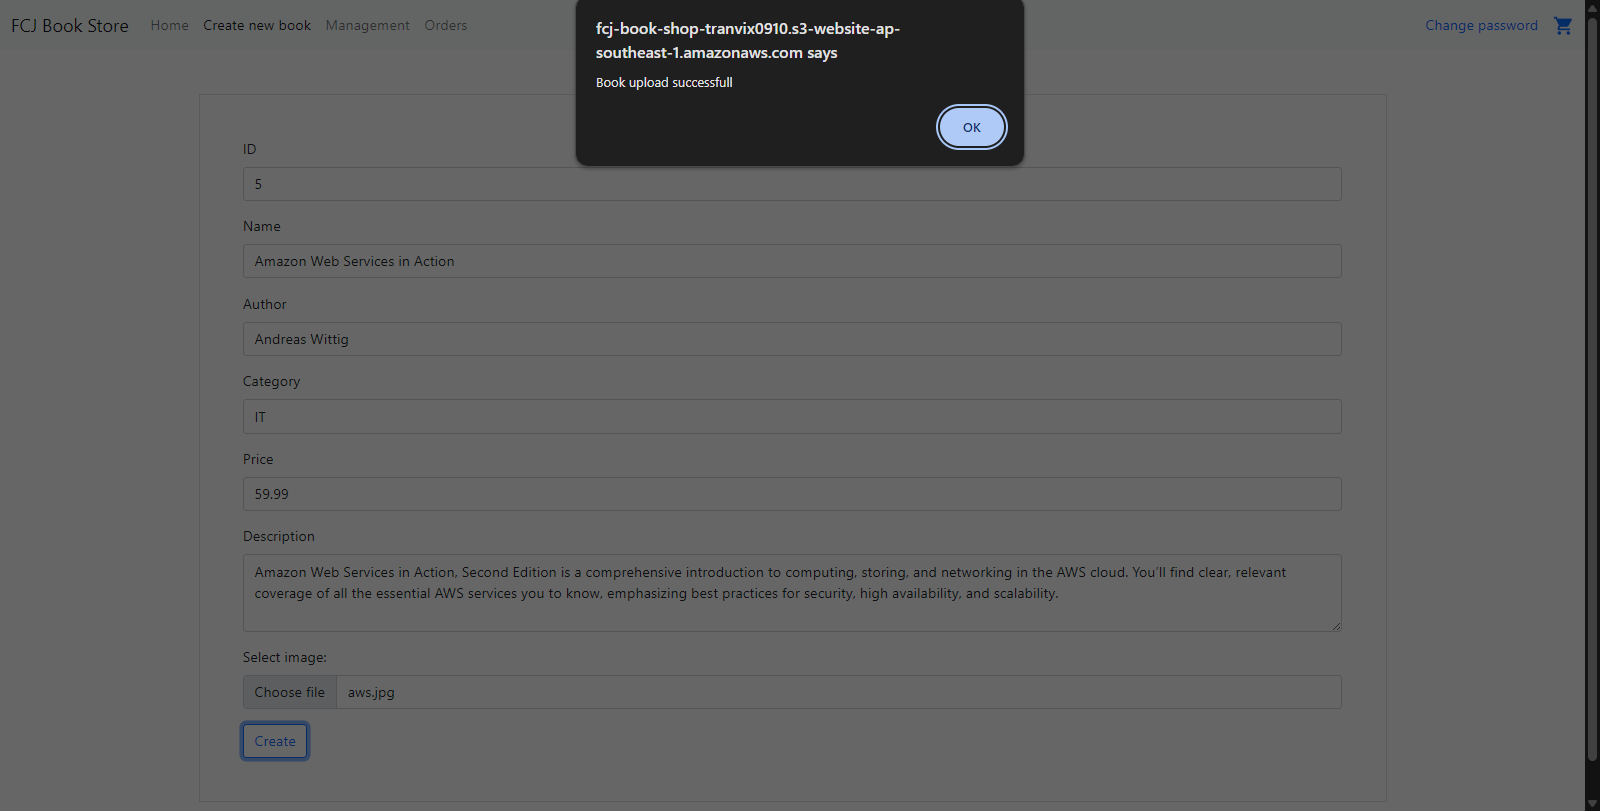
Display message Book upload successful!
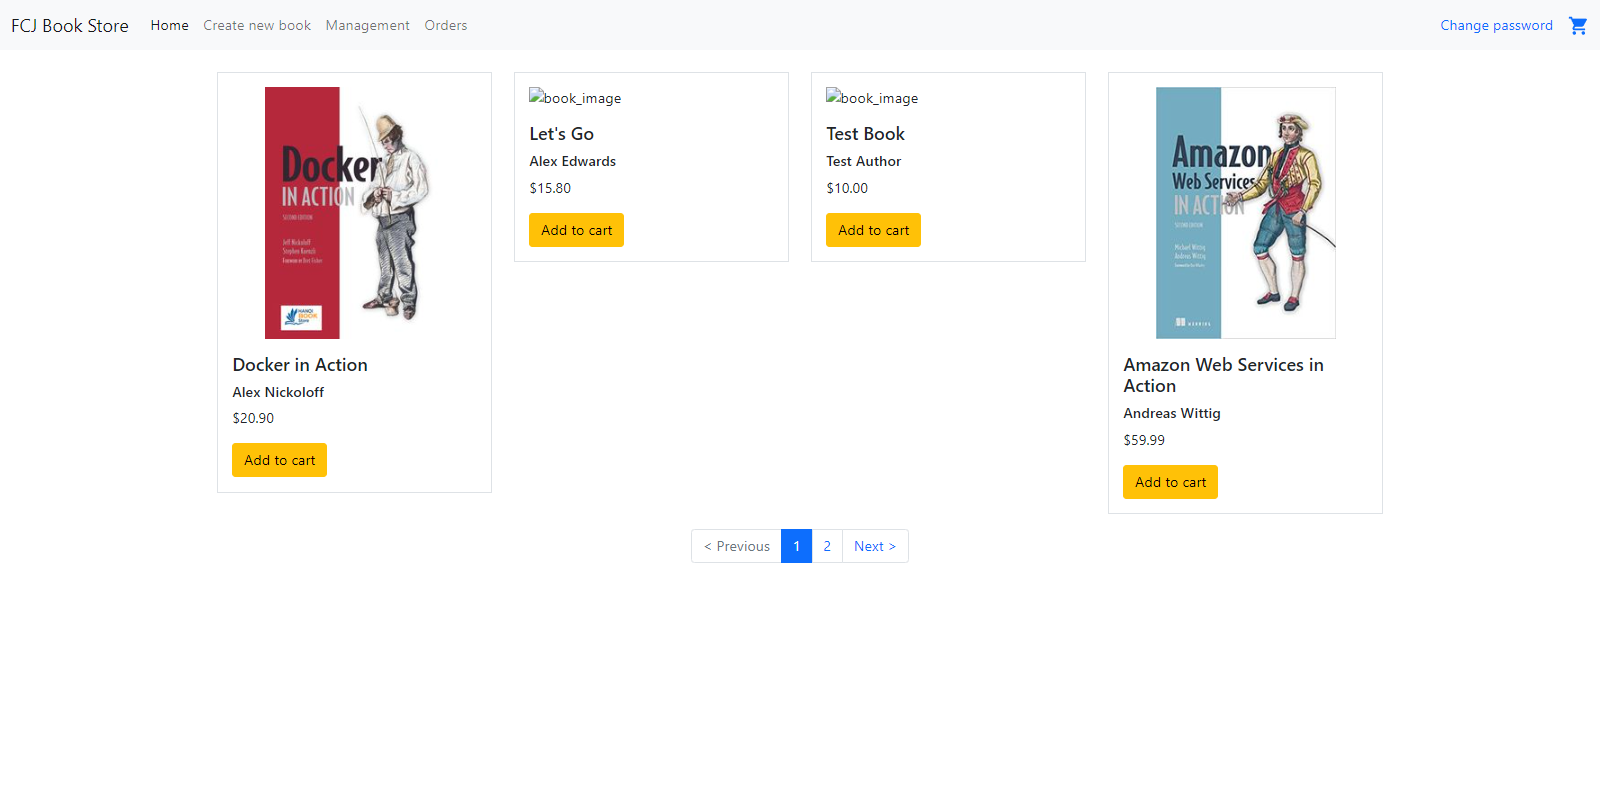
Newly created book is displayed on Home page
Test Delete API (DELETE)
Click on Management tab and click Update button on the book you want to delete
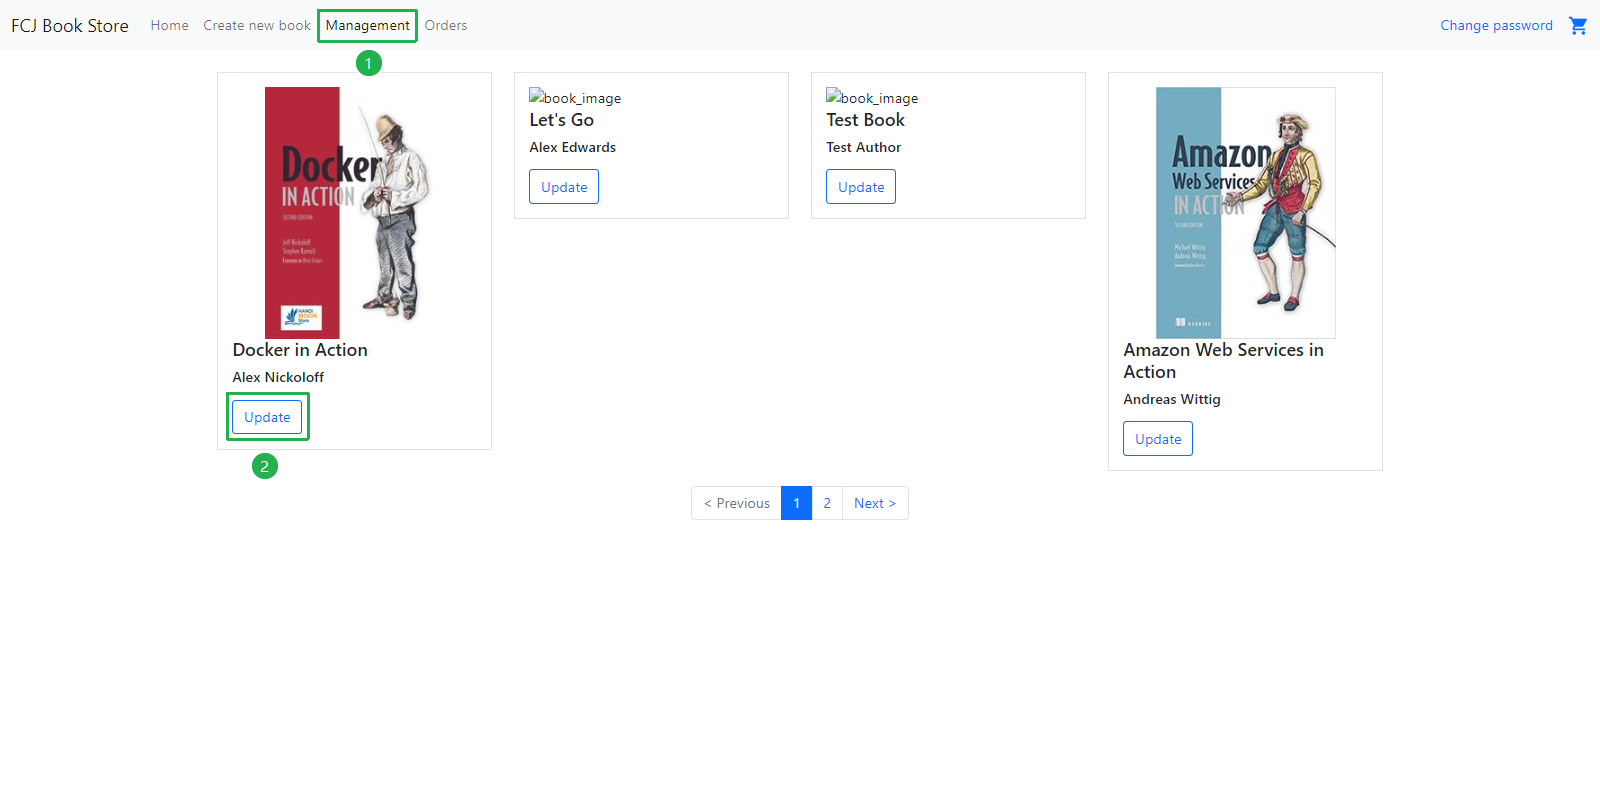
Click Delete button
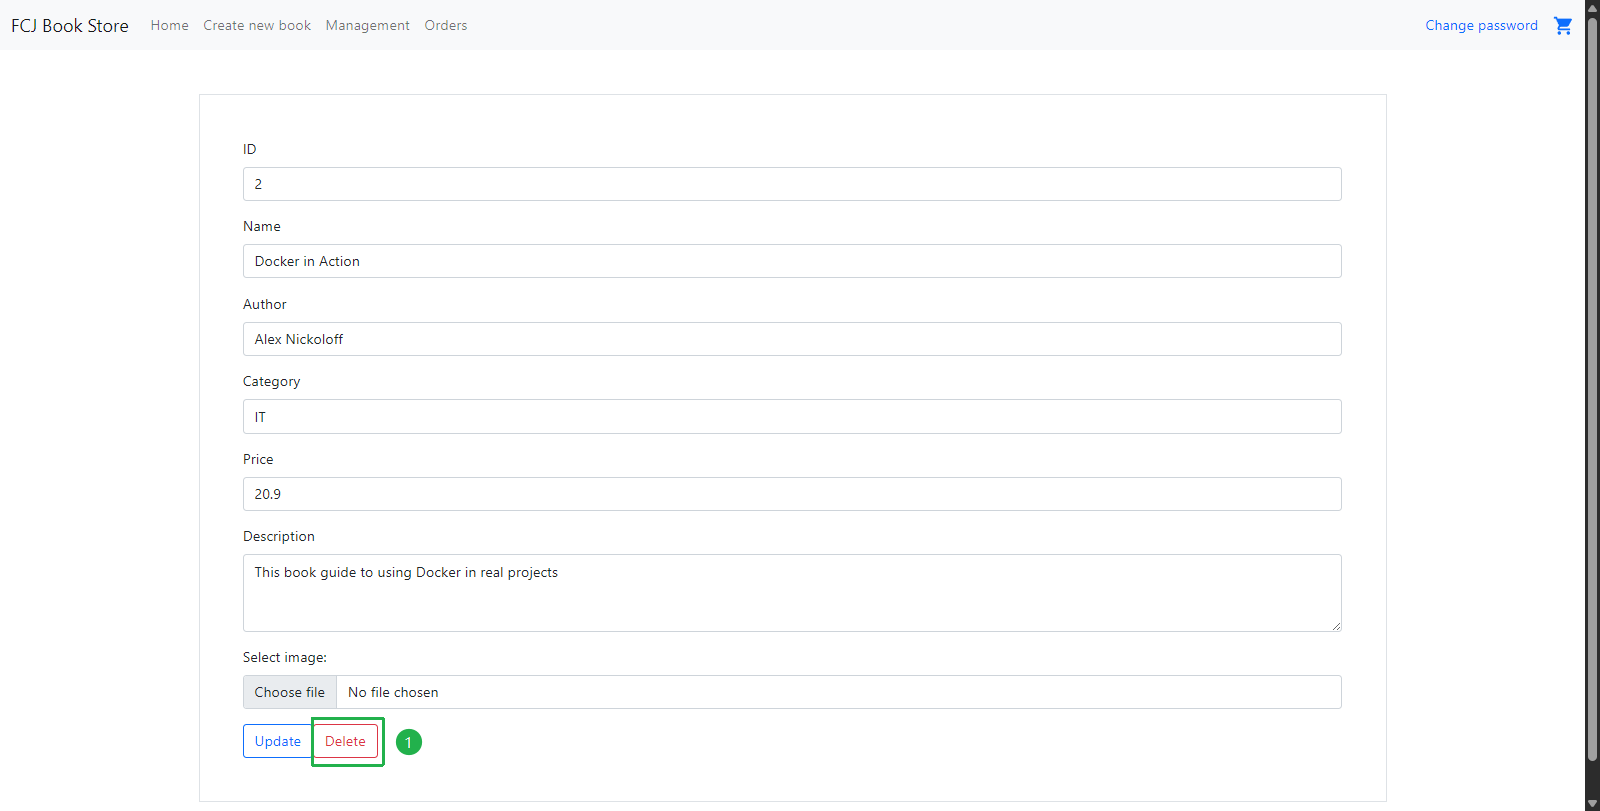
Click OK to confirm deletion
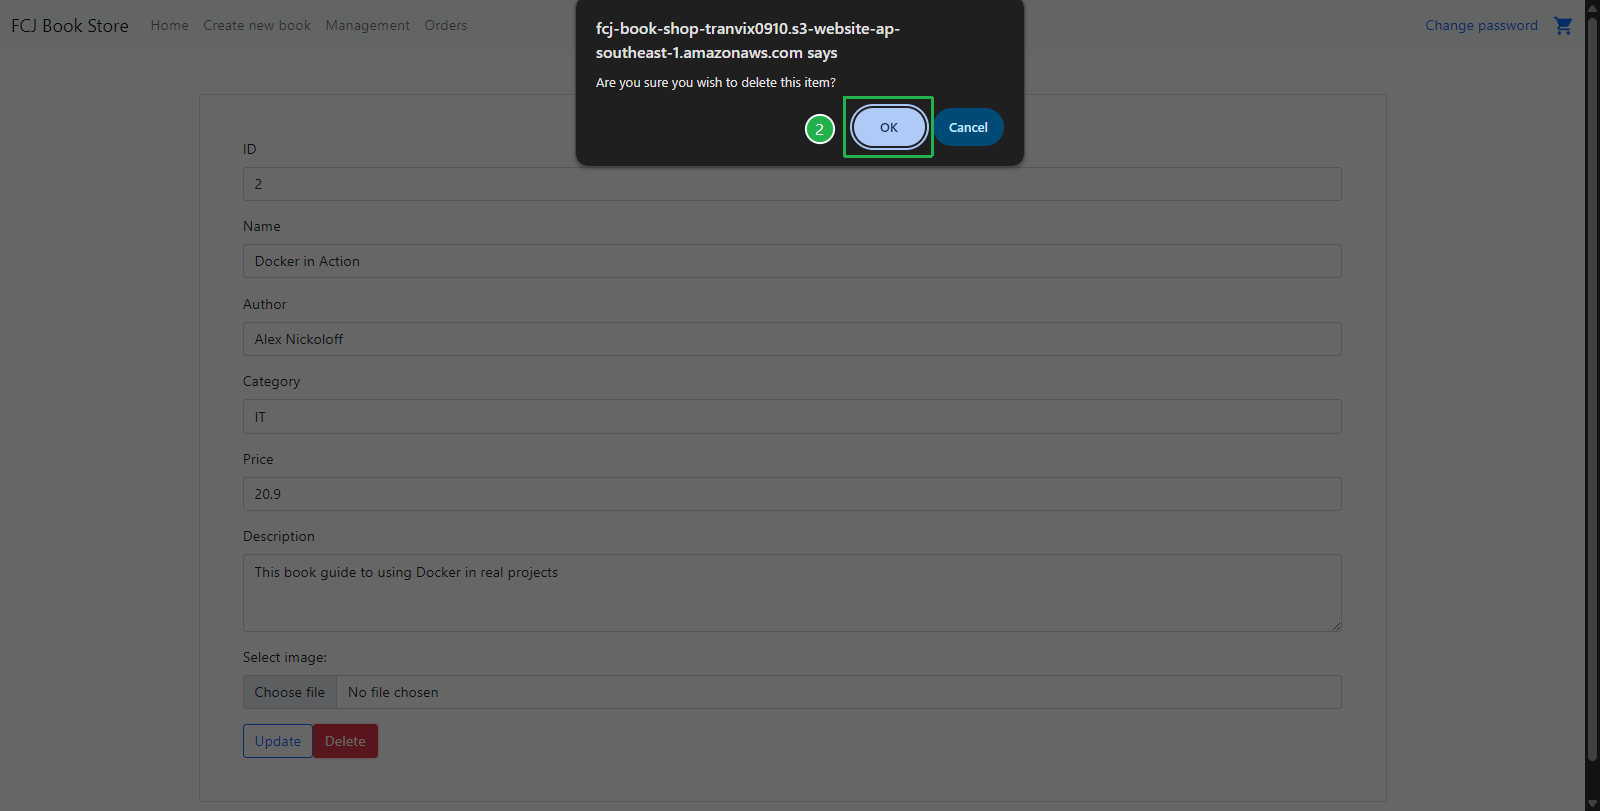
Display message Book delete successful!
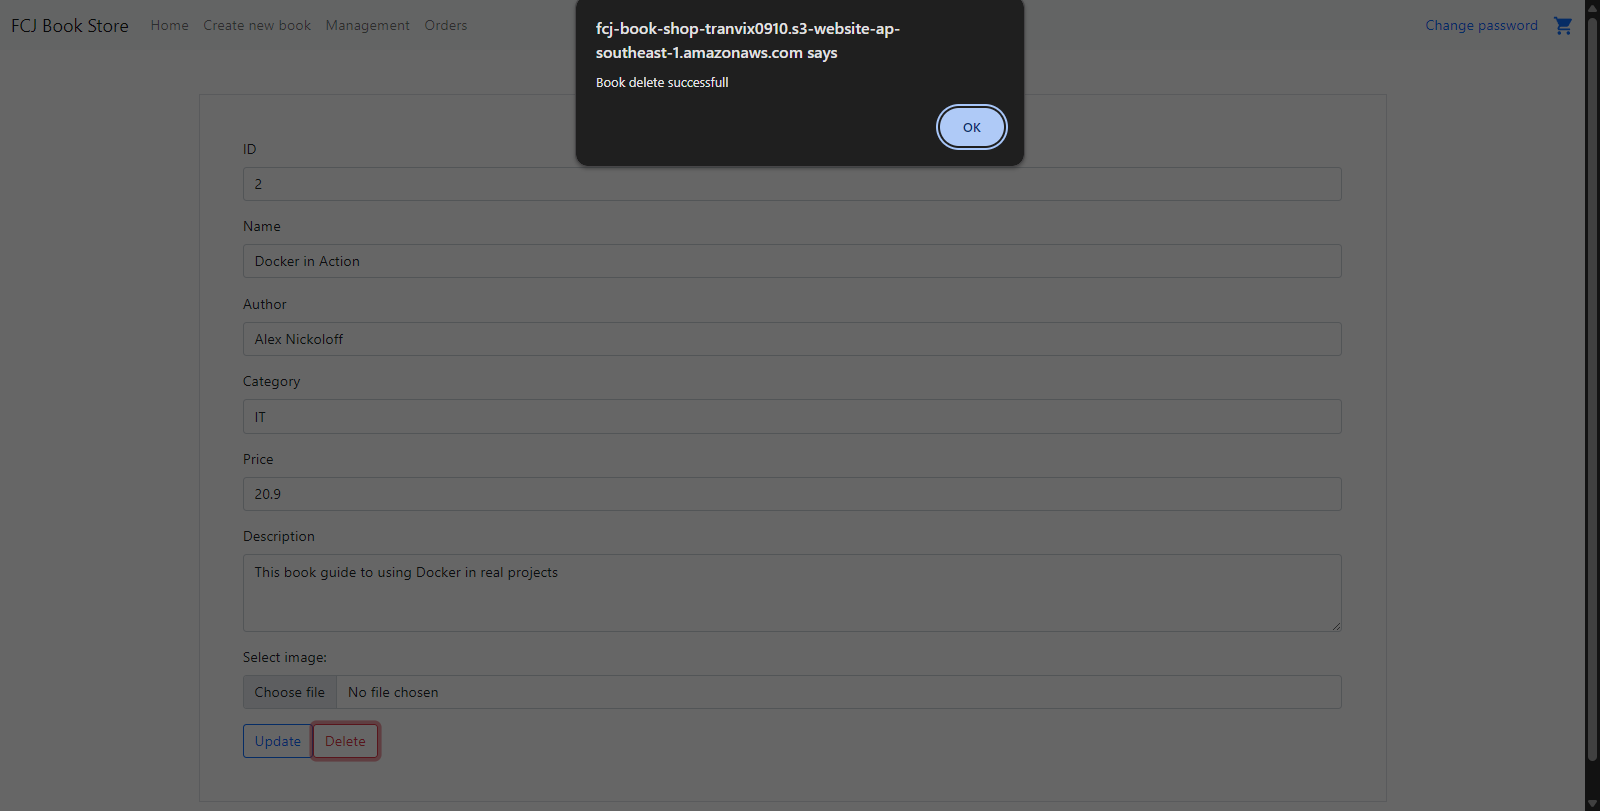
View results after deleting: the book no longer appears
We have finished building a simple web application following the serverless model. To build serverless applications faster, in the next section we will use AWS Serverless Application Model (SAM). SAM provides syntax to express functions, APIs, databases, and event source mappings.